
1. Common Steps
FH Switch Introduction
From a provider switcher to an AI CLI all-in-one management platform.
Manage Claude Code, Codex, and Gemini CLI provider settings, MCP servers, Skills extensions, and system prompts from one place.
Using FH Switch, you can:
One-click API switching: switch between multiple API providers quicklyVisual configuration management: manage all settings through a desktop interfaceMCP server management: manage Model Context Protocol servers in the same appSystem tray shortcuts: switch providers quickly from the tray menu
Good to know
FH Switch keeps a backup of the settings it replaces, so you can switch back to your previous setup or back to an official login later.
Software Download
- Click the download link here to open the FH Switch GitHub Releases page.
- Scroll to the bottom and choose the installer that matches your system. On Windows, the standard
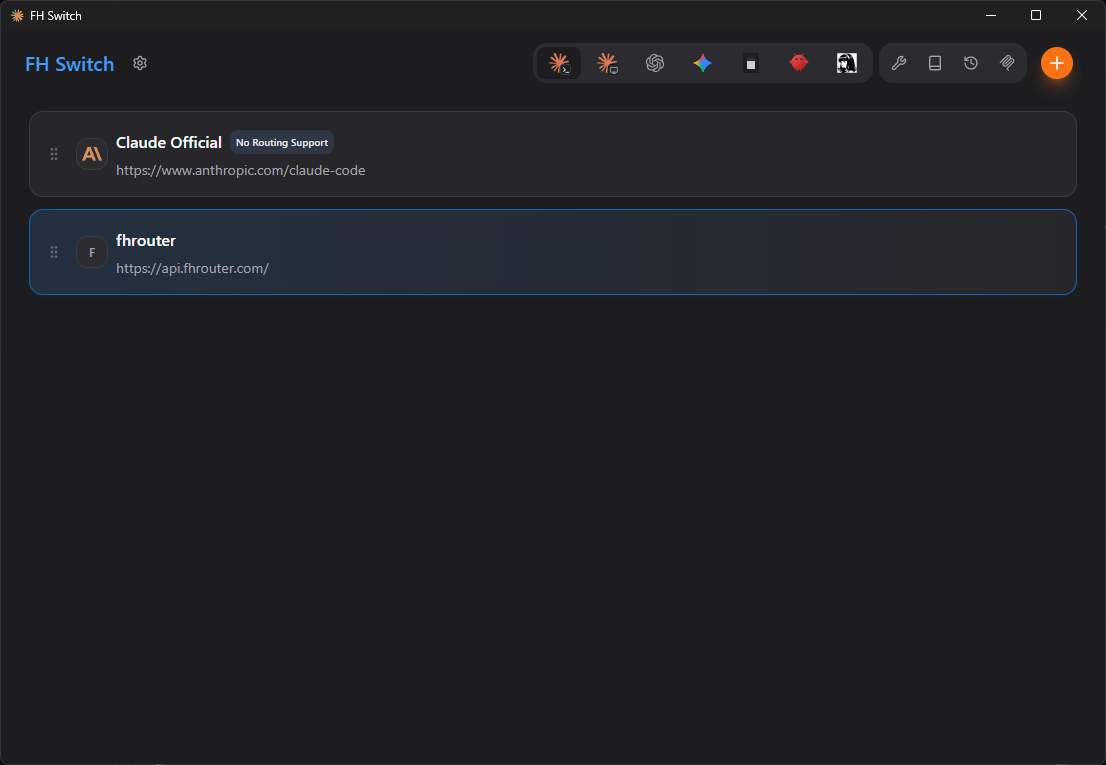
.msiinstaller is recommended. - After installation, run FH Switch. The interface should look like this.

macOS installation is recommended with the release package.
After opening the latest GitHub Releases page, download the macOS package, usually the .dmg, complete the installation, then open FH Switch from Launchpad or the Applications folder.
After installation, the interface should look like this.
Important: The filenames below use the placeholder version x.x.x. Check the GitHub Releases page for the current version, then replace the placeholder with the real version number and the full filename.
Debian/Ubuntu:
# Download the .deb package
wget https://github.com/burnworld3d/fhswitch/releases/latest/download/FHSwitch-vx.x.x-Linux-x86_64.deb

# Install
sudo dpkg -i FHSwitch-vx.x.x-Linux-x86_64.deb
After installation, launch FH Switch.
Environment Check
Please complete this step first
If you already know your Node.js environment is working, the Claude Code, Codex, and Gemini CLI packages are installed correctly, and their config directories already exist, you can skip this step and continue with FH Switch.
If you are unsure, complete the environment check first.
See 5. Check your environment before you continue.