
3. Codex
1. Install Codex
If you have not installed Codex App yet, download it here:
https://developers.openai.com/codex/quickstart?setup=app
Codex App also reads from the same local Codex configuration after setup.
If you use VS Code, install the official extension from:
https://marketplace.visualstudio.com/items?itemName=openai.chatgpt
The extension uses the same FHRouter Codex settings as the CLI after you configure your local Codex folder.
If you use the command-line version, install it with:
npm i -g @openai/codex@latestCodex CLI package URL:
https://www.npmjs.com/package/@openai/codex
2. Set up Codex in FH Switch
- If you have not downloaded FH Switch yet, start from 1. Common Steps.
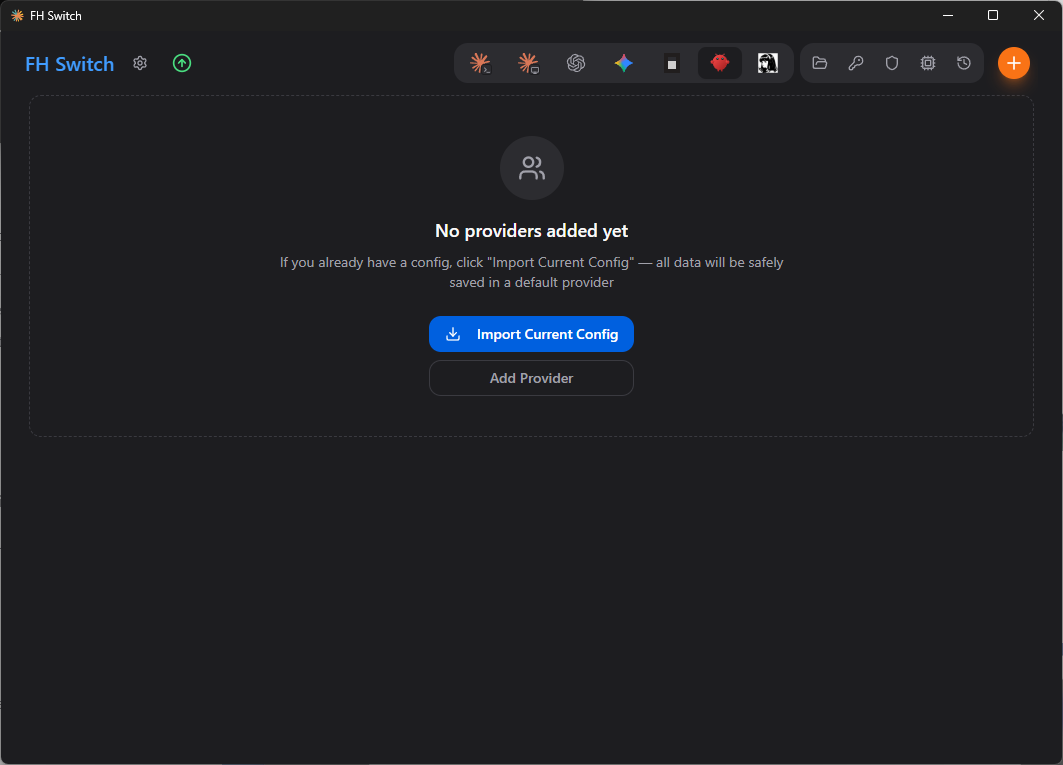
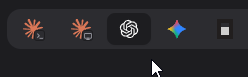
- In the top tab bar, choose
Codex.
- Click
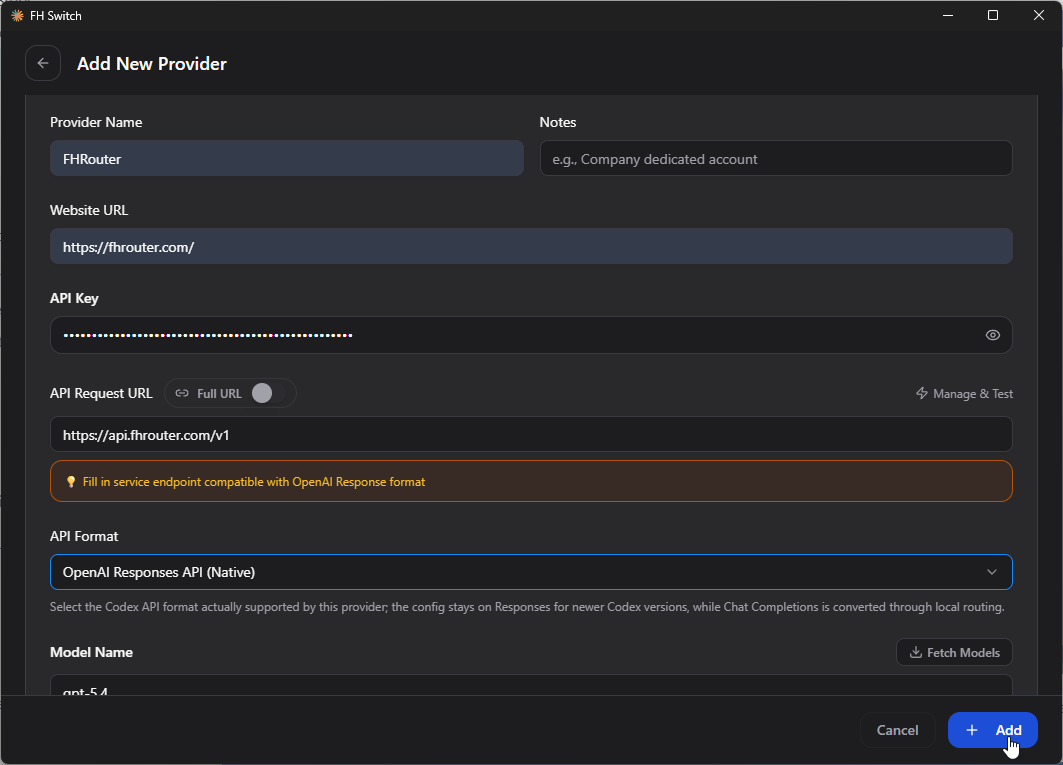
Add Provider. On the new provider page, keepCodex Providerselected.
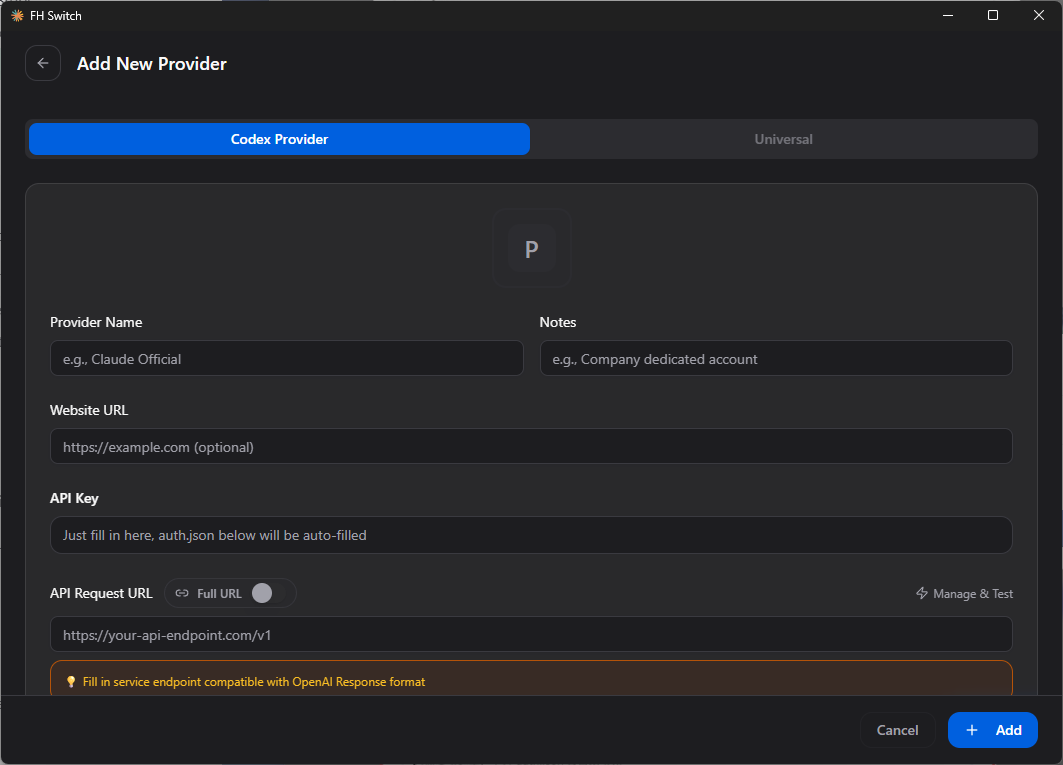
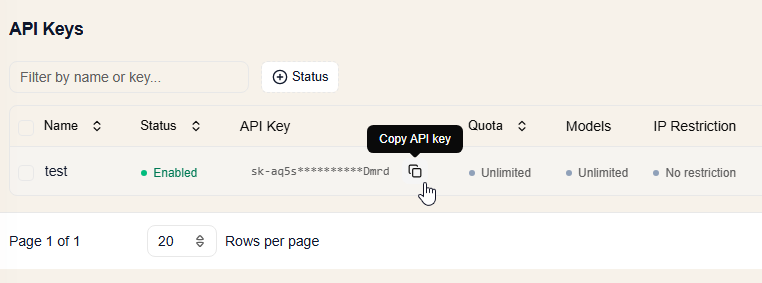
- Open 4. Create an API key and create an FHRouter API key for Codex, then copy the key from the dashboard.
- In the provider configuration form, fill in FHRouter as shown, paste the API key you copied, then click
Add.
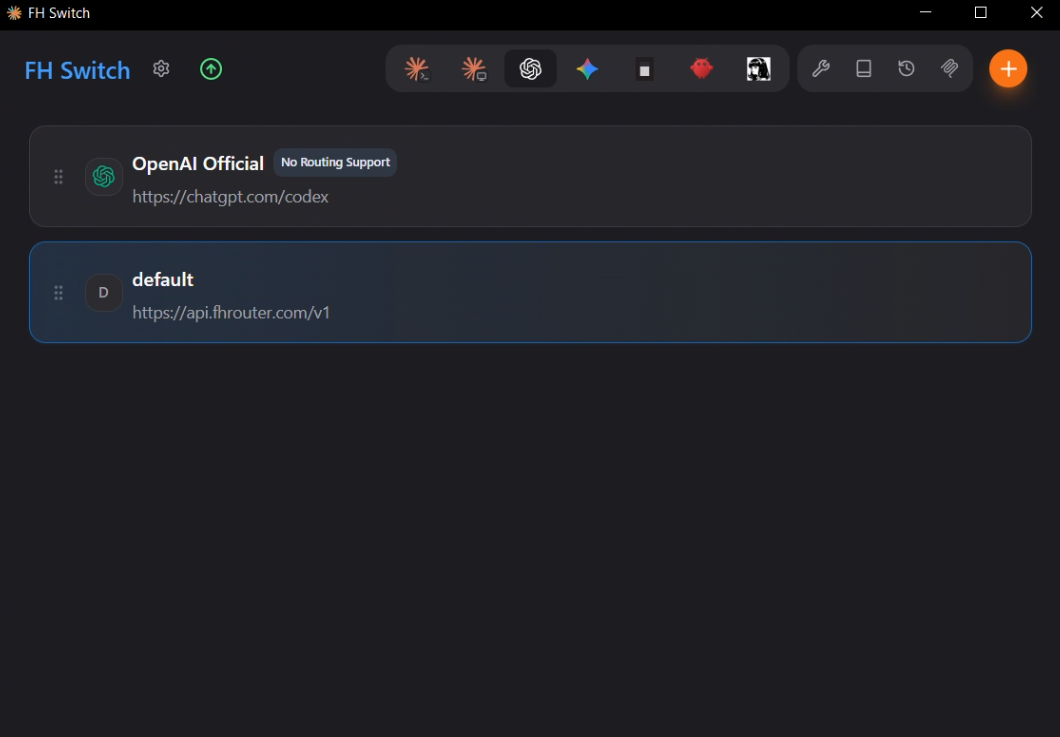
- After the provider is added, return to the main screen and switch to the new entry. When the new entry is highlighted, the configuration is in place.
- Launch Codex the way you normally use it. If it opens and replies normally, the setup is complete.
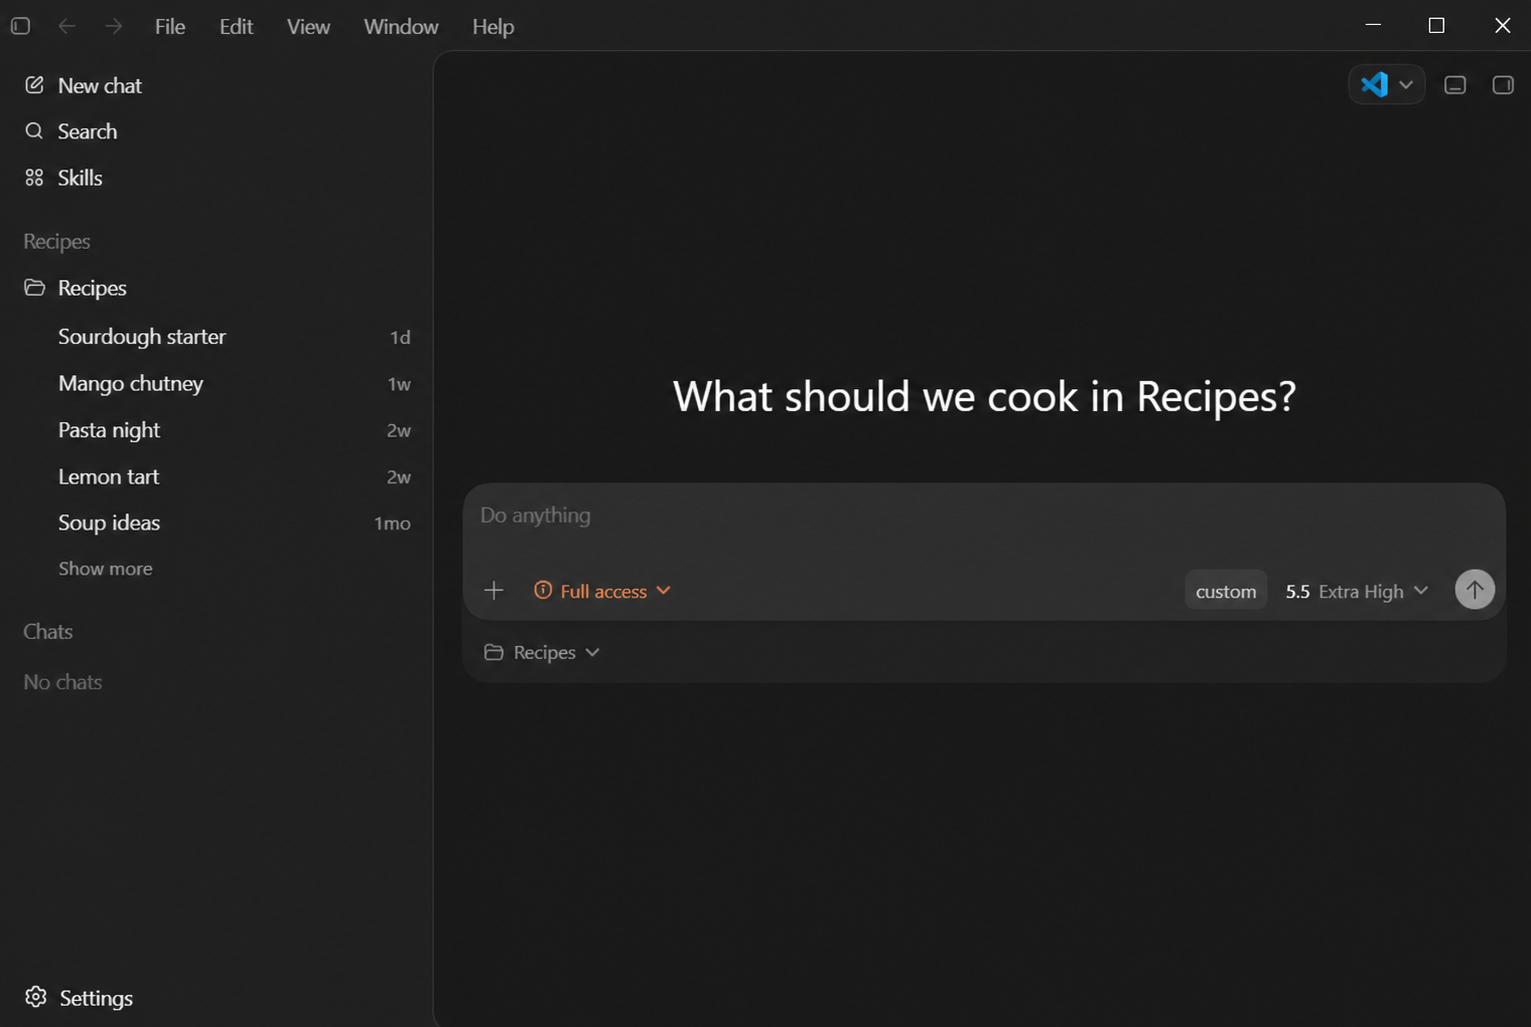
Open Codex App and start a new chat. If the chat opens and replies normally, the setup is complete.
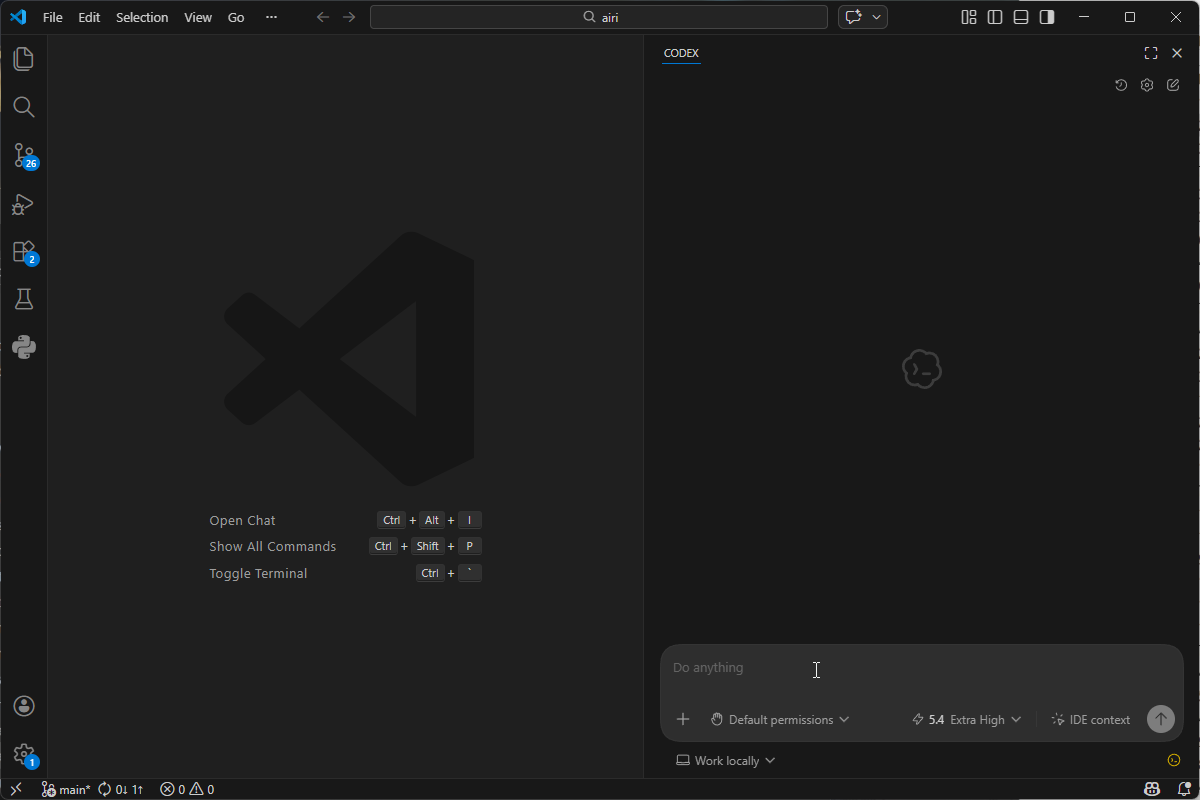
Open VS Code and start a Codex session from the extension. If it opens and replies normally, the setup is complete.
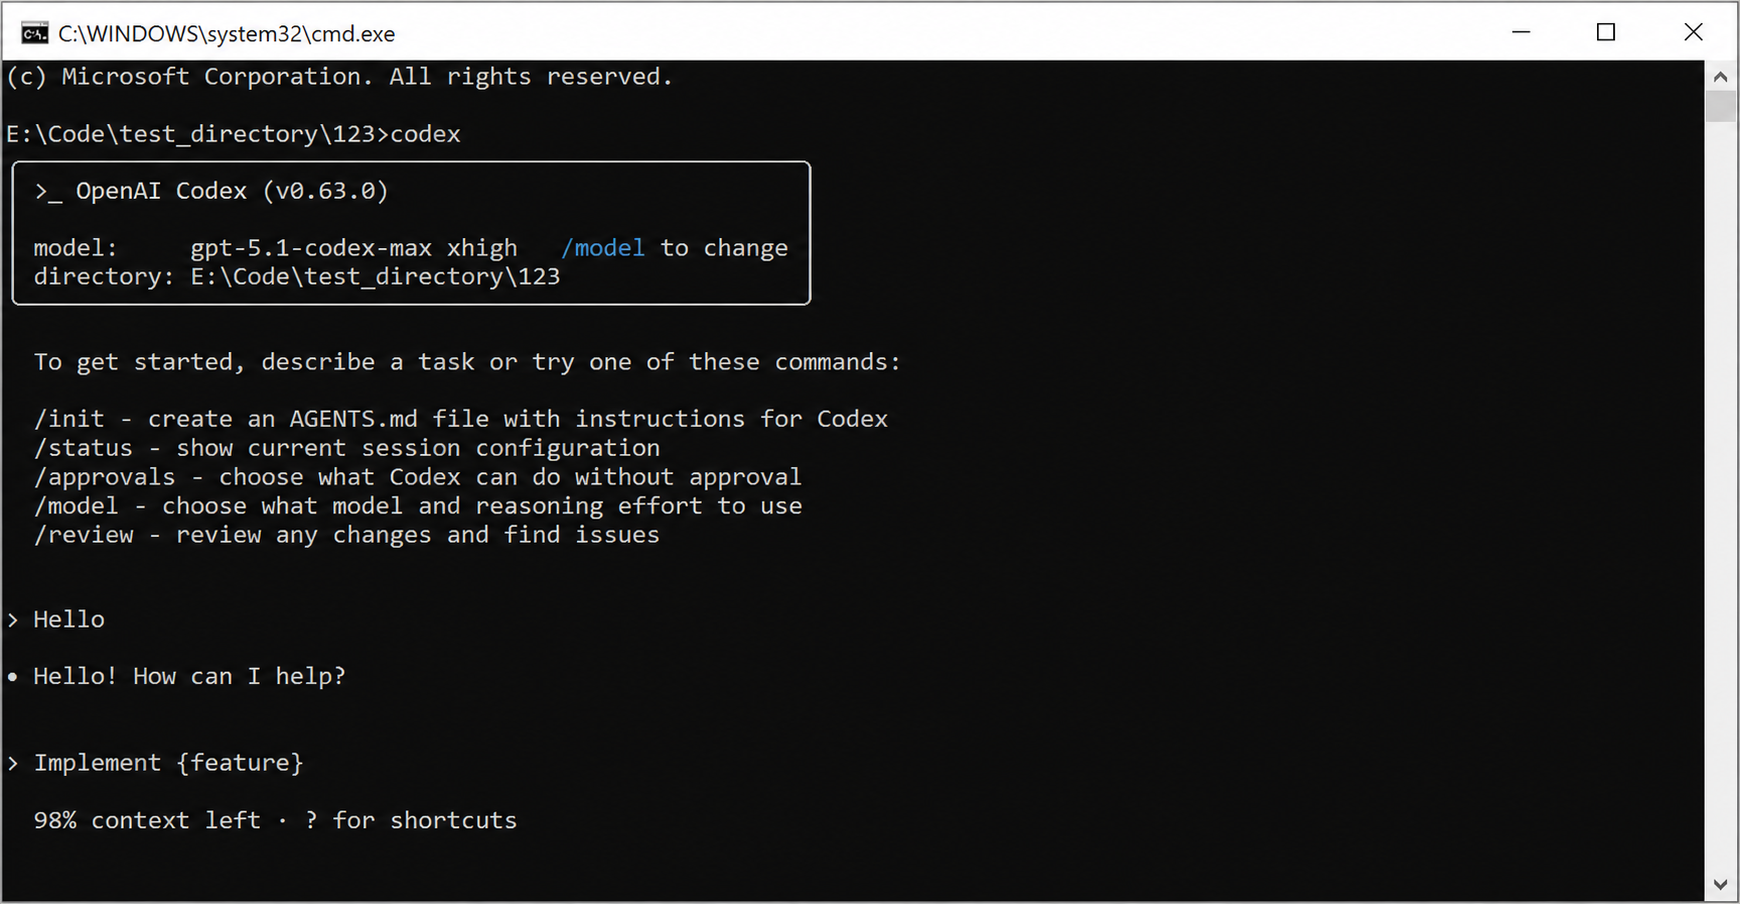
Run codex in your terminal. If the chat opens and replies normally, the setup is complete.
Usage note
After switching providers, you may need to fully close and reopen Codex or the editor extension that uses the local Codex config before the new settings take effect.